How to Make a Digital Clock: 11 Steps with Pictures
Table of Content
It's also useful if you don't want additional minerals in your water. However, since it doesn't have minerals like calcium and magnesium, distilled water tastes bland and isn't the best for drinking. I love that you used chalkpaint so you could actually change out the times to different styles if you wanted. Last, I painted the clock hands whitish gray, as a last-minute change from the stark black we bought them in. The hardest part of the project was painting the clock because I couldn’t decide on the color. I actually painted the clock three times before I was satisfied with the color.
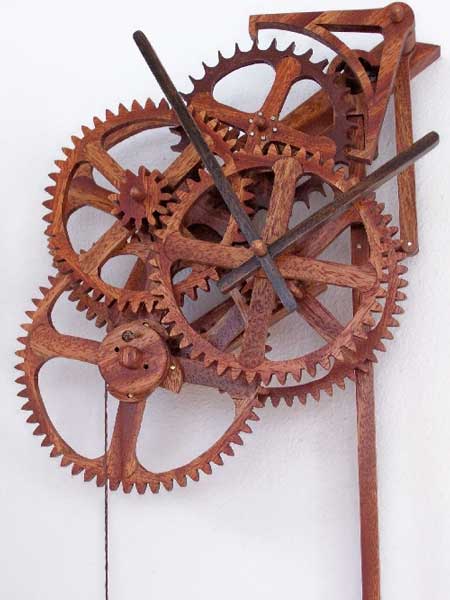
Wire the 7447s to the LED displays and to the 7490s, as indicated in the device data sheets. Many suppliers are available on the Internet or through electronics supply catalogs. Choose a vendor that offers basic integrated circuits of the generic 74xx and 40xx families, and discrete components, such as resistors and capacitors. Place the mosaic tiles where you want them to be on the circular wood. I chose the colors dark blue,light blue, and green because those are my favorite, but you can use any colors of your choice.
How to Restyle a Goodwill Clock – DIY:
Have fun choosing photos for this project. Try to come up with a theme for your clock and choose twelve pictures that fall under that theme.Try choosing photos of twelve places you’ve been on vacation. Clocks don’t just tell the time and prevent us from running late – they can also serve as impressive pieces of art. Beautiful and ornate clocks can be expensive, but there are many ways to recreate these incredible statement pieces cheaply using DIY methods. All you need is a little time, creativity and the motivation to get started. Then I took the strips back to the table saw.
If the breadboard does not come with clips, which are wires that can be plugged into the breadboard to connect integrated circuits, purchase the required clips. Once the paint has dried on the trivet, slowly peel the tape off the trivet. Touch up any scuffs or marks and allow the touch ups to dry.
Stylish DIY Plate Clock:
Your clock iis a beautiful way to start a Christmas tradition. I’ve always thought it would be fun to make a clock, I’ve seen the mechanism at Michael’s, but just never thought I could. This is a great tutorial, thank you for sharing. I used the marks I made on the back and tried to center my numbers around them. I painted the top of the clock and the side – no need for the back. To do this, I draw an outline of the mechanism on the rear of the clock and gave it a little bit extra space.

Certainly, some professions require more extensive social engagement than others. Other careers, particularly those in technical fields, tend to be far less relationship based. Many of these occupations are also disproportionately male. Just remember, making your own distilled water is easy (and fun!), but lack of nutrients makes it a bad choice for daily drinking water. But if you're stuck at home and you rely on a device that requires it, or perhaps you just want to keep your fish healthy, you may want to try making it yourself.
Build a Honeycomb Wall Clock:
Wire the normally open contact of the switch to the 1 Hz time base. Wire the wiper of the switch to the clock input of the fifth 7490. Find the data sheet for the 4060 multivibrator integrated circuit . It will show how to wire the 4060 to operate as a time generator in conjunction with a 4013 flip flop IC.

I've worked in many areas, including computer hardware, software, technology, networking, graphic design, instruction, music and even ballroom dancing! 65% Ron Swanson, 25% Ben Wyatt, 10% Andy Dwyer. Wage and hour training to help you educate your workforce. By maintaining compliance with federal wage and hour laws. Many jobs require employees to wear protective gear or uniforms.
DIY LEGO Star Wars Clock:
To do this, I put glue on each surface to be glued together and then I clamped them flat in between to halves of a 2x4. Then I took some f-clamps and clamped all the glued edges together. The 2x4 clamps made it so that the glued board would not bow while it was drying and thus dry straight. After it was dried I filled in cracks and holes with wood glue and then rubbed in sawdust I got from sanding the boards at the beginning.
I used black with a little bit of white mixed in – and then I kind of brushed in more black or white, to make it look like a chalkboard. Wiring from the rightmost device to the leftmost device, wire the first s as a count by 10, a count by 6, a count by 10, and a count by 6. Wire the fifth 7490 as a count by 2 and the sixth 7490 as a count by 1 for the 12-hour clock. Wire the fifth 7490 as a count by 4 and the sixth 7490 as a count by 2 for the 24-hour clock. Using a drill, add a hole to the center of the circle. After I cut three of the boards to length I glued them together into one board.
I had to go back and make the spots more visible, but other than that it worked pretty well. Then I glued on all the numbers using those points and the center for each number. This worked pretty well but I had to be careful to place the numbers as close to their final location so that extra glue wouldn't show too much. If Yes, then you’ll learn here about how to make your own custom wall clock at home? But some things get never changed like the decorative value of the clocks in the interior decor. The DIY clocks are still popular, and they make the perfect wall art if it comes in decorative appeal.

Wire the output from pin 8 of the second 7490 to the normally closed contact of a single pole double throw switch. Wire the wiper of the switch to the clock input of the third 7490. Acquire an electronics prototyping breadboard.
Use a ruler to measure up one foot directly on top of the clock. This is where you will hang the number 12.Measure one foot to the right of your clock and mark it with a pencil. After everything had dried, I filed in all the cracks and crannies with glue and rubbed in sawdust.

Measure one foot to the left of your clock and mark it with a pencil. Measure down one foot below your clock and mark it with a pencil. Use the glue to attach each of the wooden numbers to a portion of the scrapbook paper. Use the Xacto knife to carefully cut around the numbers to remove the excess paper. After that it was time to glue on the sides. I taped all the tips of the edges pieces together to help hold it together while clamping and the glue dried.
Introduction: How to Make a Working Mosaic Clock
Every hour we invest offers a considerable return on that investment. Research even shows that the more friends we have, the less often we feel depressed, lonely or anxious. Not to get too science-y here, but this is exciting for me. We'll be using water in all three of its known states -- solid, liquid and gas. Filters can also eliminate foul odors and tastes.


Comments
Post a Comment